Ces articles peuvent aussi vous intéresser

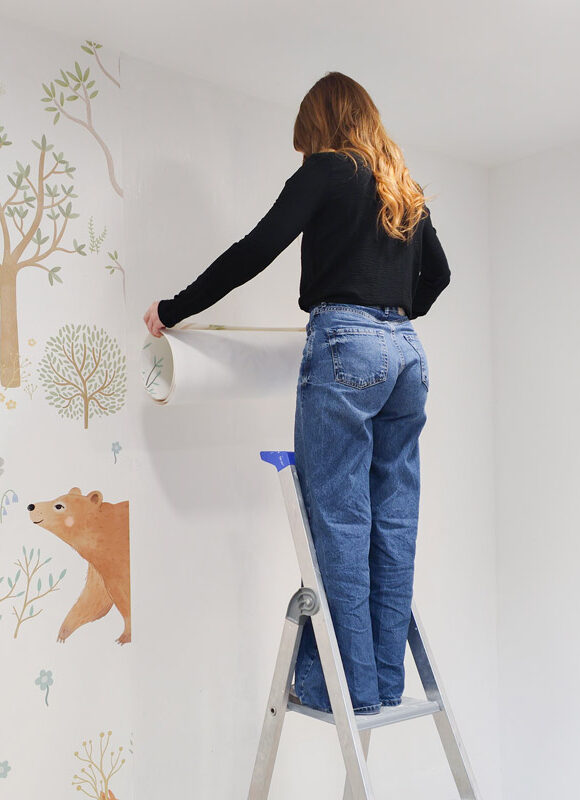
Installation Guide: Pre-pasted Wallpaper
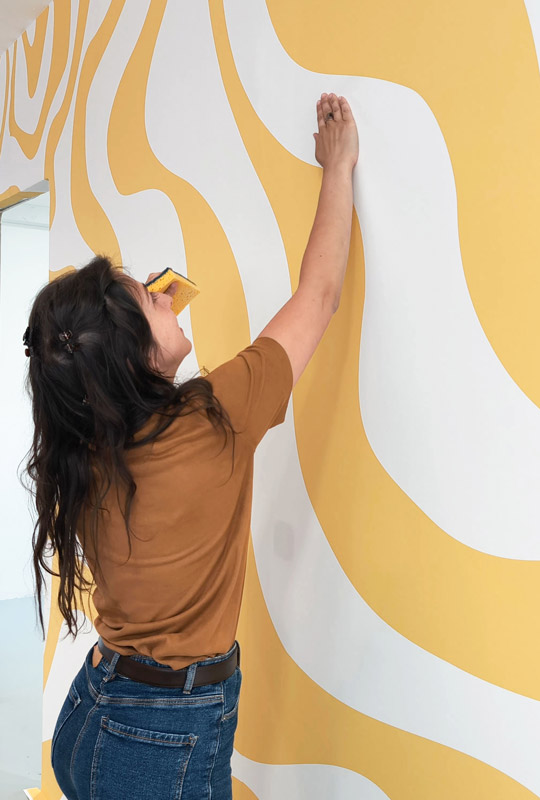
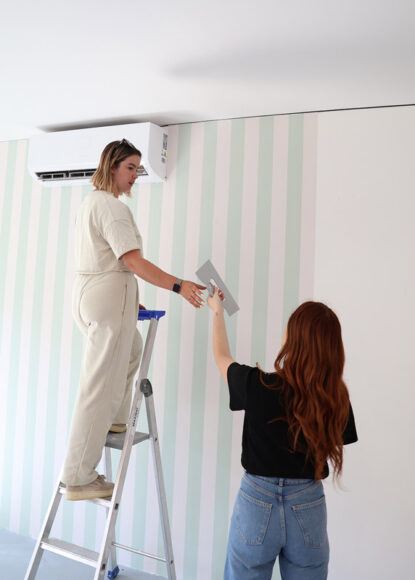
Have you chosen pre-pasted wallpaper to transform your interior? Before you begin installation, we invite you to follow this step-by-step guide. Our customer service team is available to answer any questions you may have.
You will need:
A measuring tape
A water spray bottle
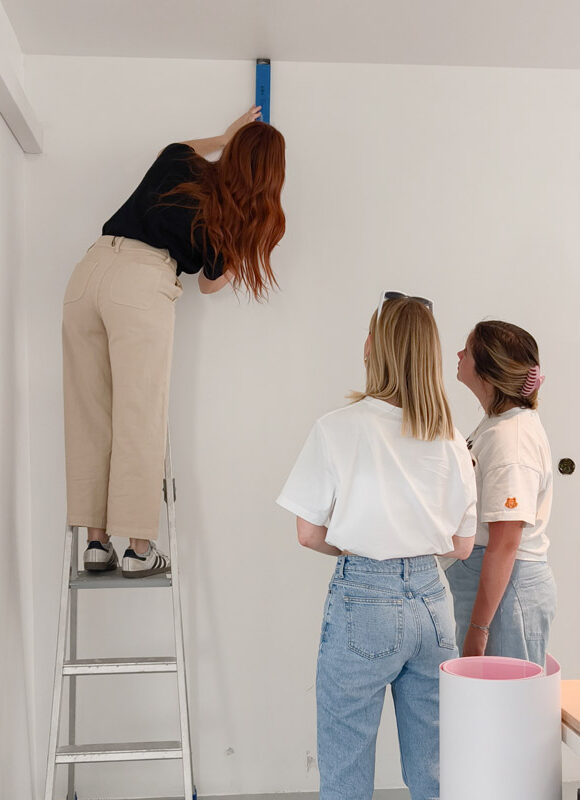
A level
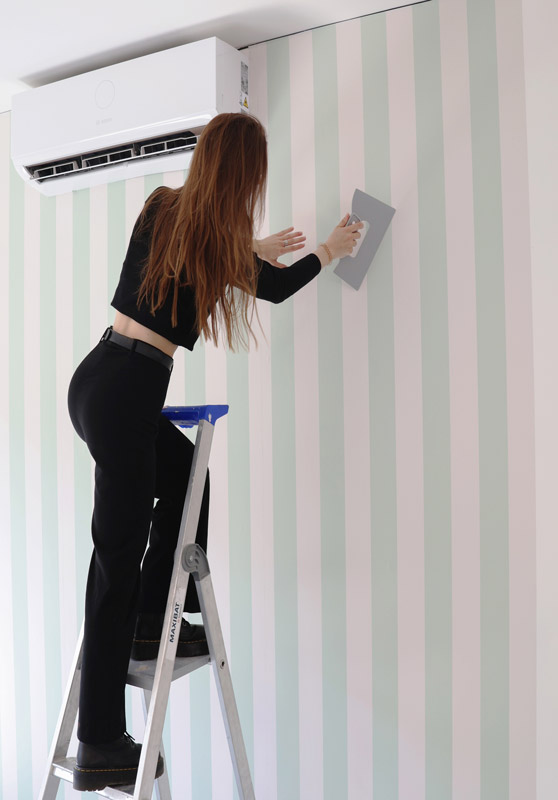
step ladder
A sharp utility knife
A non-abrasive sponge
A smoothing tool